


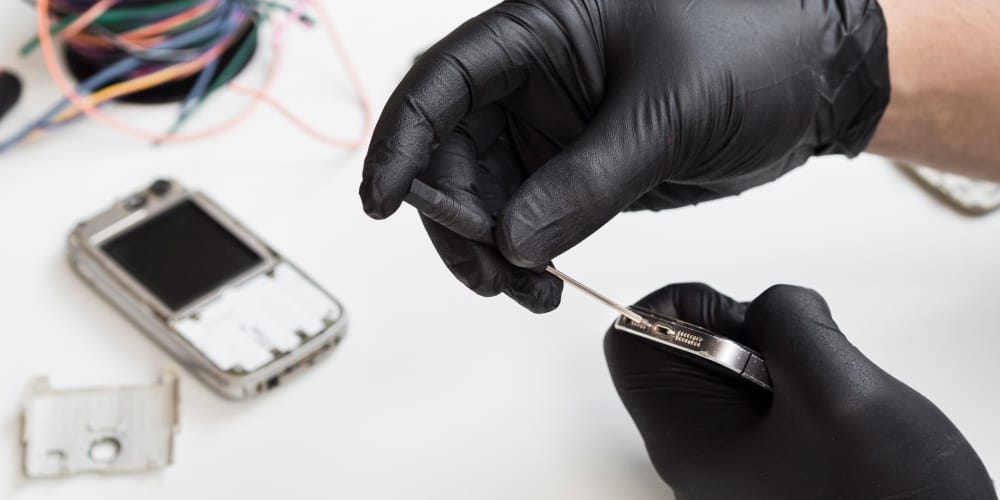
When people say they cannot hear you, the phone is usually not broken in the way you think. Your iPhone has three separate microphones, they do different jobs, and the one that failed decides both what the symptom looks like and what the repair involves.
Below is how to work out which one has gone, in about a minute, using apps already on the phone. There are also several settings that make a perfectly healthy microphone behave like a dead one, and those are worth ruling out before anything else.
Your phone has three microphones, not one
The bottom microphone sits beside the charging port. It handles normal phone calls, Voice Memos, and Siri when you are holding the phone to your ear. It is the one that fails most often, partly because it is closest to pocket lint and to whatever the phone lands on.
Not sure what your repair should cost? Get a free estimate from Gadget Ali before any work starts, with no obligation.
The front microphone is in the narrow slot by the earpiece. It takes over for speakerphone, FaceTime, and front camera video. This is why a phone can be useless on a normal call and perfectly clear on speaker.
The rear microphone is a pinhole near the back cameras. It records audio for rear camera video and helps with noise cancellation. A fault here often goes unnoticed for weeks.
Which one failed is the whole diagnosis. They sit in different places inside the phone and are attached to different parts, so identifying the right one is what separates a straightforward repair from a wasted one.
Which one is broken? Three quick tests
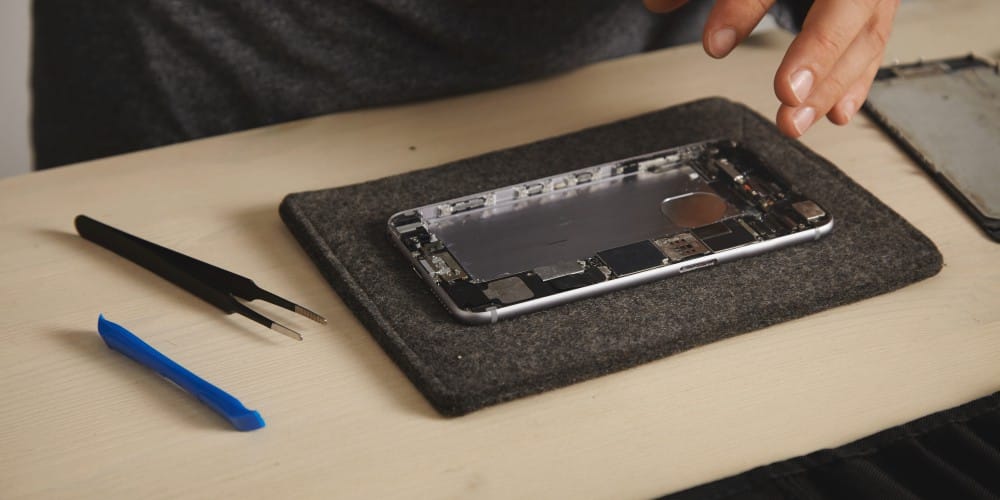
Test the bottom microphone with Voice Memos. Open the app, record a few seconds while talking normally near the base of the phone, then play it back at full volume. Silence or a very faint recording points at the bottom microphone.
Test the front microphone with a selfie video. Open Camera, switch to video, switch to the front camera, record yourself talking, then play it back. If this one is clear but Voice Memos was not, you have isolated the fault to the bottom.
Test the rear microphone with a normal video. Same thing with the rear camera. Talk while recording, then listen.
Write down which tests failed before you go anywhere. That single piece of information tells a technician which part is involved and saves the first ten minutes of any inspection.
Check the case and the screen protector first
Take the case off and repeat the tests. A thick case, or one made for a slightly different model, can sit over the microphone opening and muffle everything. This is a surprisingly common cause and it costs nothing to rule out.
Look at the top edge of the screen protector. A protector that covers the earpiece slot blocks the front microphone. If speakerphone got quiet after you fitted one, that is your answer.
Look into the openings in good light. Compressed lint sitting in the mesh looks like a solid grey plug. If you can see it, that alone can explain a muffled recording.
Settings that make a working mic look dead
Check whether a Bluetooth device has taken the audio. A pair of earbuds in a bag two rooms away can still be connected, and the phone will happily route the microphone to them. Turn Bluetooth off entirely and test again.
Check call audio routing. In Settings, then Accessibility, then Touch, there is a Call Audio Routing option. If it has been set to something other than Automatic, calls will behave oddly in ways that look like hardware failure.
Check app permissions if it only fails in one app. In Settings, then Privacy and Security, then Microphone, you can see which apps are allowed access. A microphone that works in Voice Memos but not in one particular app is a permission, not a fault.
Turn off noise cancellation if your model offers it. Under Settings, then Accessibility, then Audio and Visual, some models have a phone noise cancellation option that can make voices sound thin or cut in and out.
Restart before concluding anything. If you want the full sequence for separating a software fault from a physical one, our guide on telling a hardware fault from a software one covers the tests in order.
Why a drop breaks the mic without cracking anything
The impact travels through the frame, not the glass. A phone that lands on a corner sends that shock straight through the chassis to everything mounted on it. The screen survives because it is designed to. The small components on thin flex cables are not built for that.
The failure is usually the connection, not the microphone. Flex cables sit in connectors held by pressure and tiny clips. A hard enough knock unseats one slightly, and the microphone stops reporting even though the part itself is fine.
This is why the problem can appear days later. A connection knocked loose but still touching keeps working until normal handling finishes the job. People often do not connect the two events at all.
If the same drop cracked the screen, mention both. Impact rarely damages only one thing, and our guide on what to do about a cracked phone screen covers what else to check on the display.
Never blast compressed air into the grille
This is the advice that turns a cheap problem into an expensive one. Compressed air at close range pushes debris further in and can damage the microphone’s connection to its flex cable. There are documented cases of a working microphone failing immediately after exactly this.
Do not use anything sharp either. Pins, needles and paperclips puncture the mesh, and once that membrane is torn the part is finished.
A soft dry brush is the safe option. Something with fine bristles, worked gently across the opening rather than into it. No water, no alcohol, no cleaning fluid.
If gentle cleaning does not fix it, stop. At that point the problem is inside, and everything you try from the outside adds risk without adding information.
Where the bottom microphone actually lives
It is mounted on the charging port assembly, not on its own. On most iPhones the bottom microphone sits on the same flex cable as the charging port. On some models there are two microphones on that one part, and on the newest models it is attached to the USB-C flex directly.
That means a bottom microphone repair is a charging port assembly replacement. Nobody replaces the microphone alone, because it cannot practically be separated from the cable it is mounted on. This is the part of the answer that surprises people, and it is why the repair costs more than the size of the component suggests.
The front microphone is on the screen’s sensor assembly. A speakerphone-only fault is therefore a different job in a different part of the phone, reached from the front rather than the bottom.
The rear microphone sits on the flash and button flex. A third location again, which is why identifying the failed microphone before quoting matters so much. For what we handle across Apple devices, see our iPhone repair page.
What happens when water is involved
Microphones are among the first things liquid takes out. The sensing membrane is exposed to the outside by design, so water reaches it before it reaches anything else.
Corrosion keeps working after the phone dries. A microphone that came back a day later can fail again weeks on, because the residue left behind continues to eat at the connections.
Bring it in sooner rather than waiting to see. Liquid exposure is the one case where waiting genuinely changes the outcome, and the same visit usually costs less than the one three weeks later.
When it is time to stop testing
When one test fails consistently and the others pass. That is a specific component, and no amount of settings work will bring it back.
When it started after a drop or a spill. A physical event with a physical result. Software checks are worth two minutes and no more.
When the charging port is also playing up. Those two share a part on most models, so failing together points clearly at one assembly. Our guide on whether a charging problem is the port or the battery covers the other half of that.
When it comes and goes with no pattern. Intermittent audio after an impact usually means a connector that is barely making contact, and that gets worse rather than better.
Bring it in and we will tell you which one it is
Come to either shop with the results of the three tests and we will confirm which microphone has failed and what putting it right involves. The inspection costs nothing and nothing gets started until you have a price. Walk in during business hours at 6551 No. 3 Rd in Richmond or 935 Marine Dr in North Vancouver.
You can also tell us your model and which tests failed and we will come back with a clear answer before you make the trip.